How to Tape a Pickleball Court
With the influx of players in the city, you may be looking for more places to play. We recommend calling and emailing the NYC Parks department to request dedicated court space in your neighborhoods. As a temporary solution, taping your own pickleball court is a simple process that just takes a little time and effort.
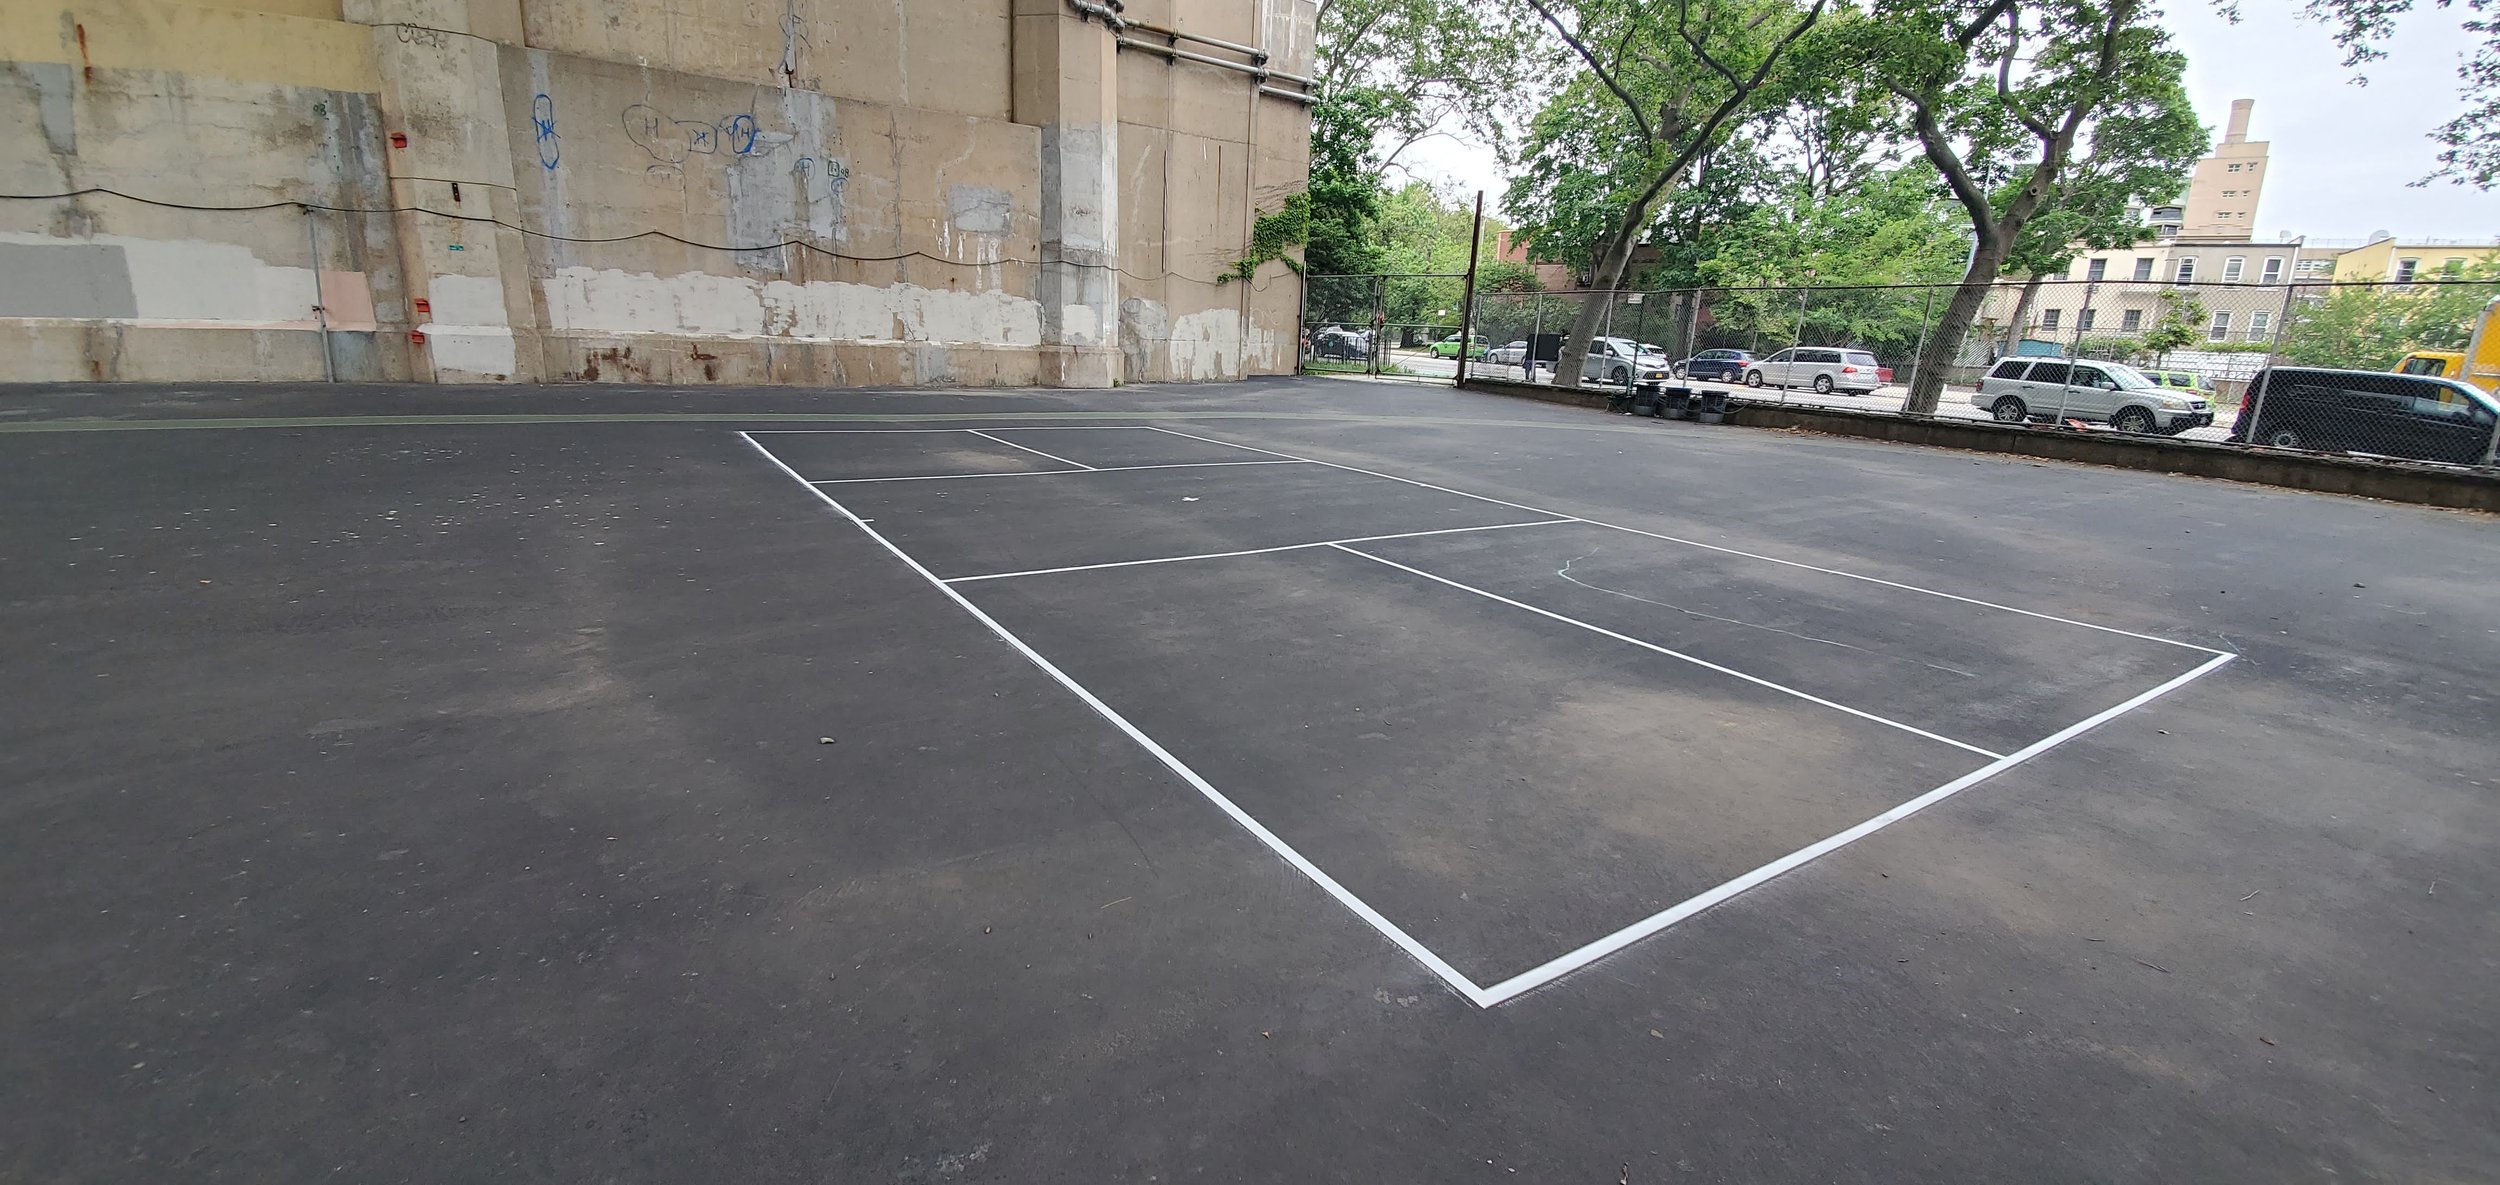
Find a Space
Look for an open asphalt area. Keep in mind you want minimum playing dimensions of 30’ X 60’. If you have the space, setting up two or more courts can be a great way to develop a local community and allow for more rotation. Pro-tip: Badminton courts are the same size as pickleball courts. If you can find outdoor lines for a badminton court, just tape down non-volley zone lines and you’re done!
Important: Please look for spaces that are underutilized, and do not tape on private property without permission. Check the space at various times of day, and proceed when you are comfortable that taping down a court would not be disruptive to the use of others.
Things You’ll Need
3x 25’ self-locking tape measures. You can do it with one, but it’ll take a lot more work to get the right angles!
Large Chalk Stick or painter’s tape
1x 200’ roll of Outdoor Pickleball Court Tape. If you can’t get court tape, gaffer’s tape is your next best option, but make sure you get enough rolls for a full court (198’ to be exact). Duct tape can also work, but may be harder to use and require more frequent maintenance.
2-4 people to help - the more the merrier!
If you purchase anything on Pickleballcentral.com, use code CRNYCPB to get 5% off
Optional:
Broom or leaf blower
Rubber Mallet
Step-by-Step Instructions
Set up your portable net where you want it to be when you play. Mark the center of the net, and measure 10 feet out from there toward the net posts on either side. Use chalk or painters tape to mark the ground on both sides. This is where the outer sidelines of the court will be. The distance between these marks should be exactly 20 feet.
Optional: Prepare the play surface by sweeping or blowing off debris like sand and grit. This will help the tape stick to the asphalt better and last longer.
From one of the center sideline marks you made, pull your tape measure straight out 22 feet towards where your baseline will be. Lock and leave the tape measure in place.
From the end of that “side line”, pull another tape measure 20 feet across to form the baseline. This should be perpendicular to the first tape measure. Lock and leave the tape measure in place.
Form the other sideline with the last tape measure. Start at the other sideline mark you made with chalk or painter’s tape, and pull the tape measure out 22 feet, parallel to the first tape measure.
Straighten the three tape measures so they meet in right angles at the baseline. As long as all three tape measures are locked to the right lengths, your lines should be more or less parallel. The outer edge of the sidelines should be 20 feet apart.
Trace along the outer edges of your tape measures with chalk. You’ll be using this as a reference for your tape, so it doesn’t need to be completely perfect. Make sure to mark the center of the baseline at 10 feet.
Once you’ve traced the sidelines and baseline, move the baseline tape measure up so that it is right above the 7’ mark on the sideline tape measures - this will be your non-volley zone, or kitchen line. Trace the outer edge of the tape measure (exactly in line with the 7’ mark), and once again mark the center of this line at 10 feet.
Now all you need to do is lay down your tape. Make sure you put the tape inside the chalk lines so that the outer edge of the tape lines up with the chalk. Tape the two outside lines, the baseline, the non-volley zone line. Lastly, connect the two midpoint marks you made on the NVZ line and baseline to separate the back of the court.
Repeat on the other side. Once you’ve completed your court, use tape to mark where the net posts should go for quicker net set up in the future.
Optional: You can use a rubber mallet to hammer in the tape, and make sure it is securely adhered to the asphalt. You can also walk or hop along the tape to help it stick.
For a more a visual guide, we like this Youtube video: